
In this example we are going to walk through the creation of a Dell SUU ISO for 64-bit Windows. The SUU is crucial if you are building out Dell servers as it updates firmware and drivers.
I find the Dell documentation isn’t overly helpful so I’ve put together this quick tutorial on how to create a customized Dell SUU ISO, keep in mind this tutorial creates a Windows based installation ISO.
1. Go and download the latest Dell Repository Manager if you do not have it installed already.
http://en.community.dell.com/techcenter/systems-management/w/wiki/1767.dell-openmanage-repository-manager
2. Once installed find the icon on your Desktop and launch it.
![]()
3. Once launched, you should be prompted to update some plugins, go ahead and do so. If you are prompted to update the Dell Online catalog do so as well.
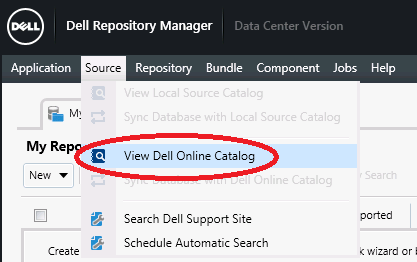
4. Once the application has loaded, go to the menu bar and select Source > View Dell Online Catalog.
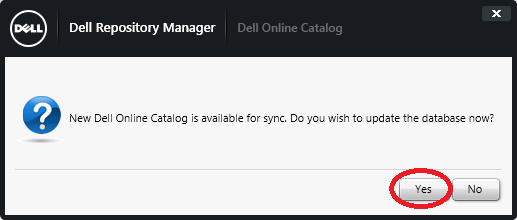
5. If you have not updated the Dell Online Catalog, you should now be prompted to update, click Yes.
6. Under Dup Format check off Windows 64-bit to narrow down the bundles.
7. Check off your System Bundles based on the models you’d like the ISO to support.
8. Once these are all selected click Create Deployment Tools.
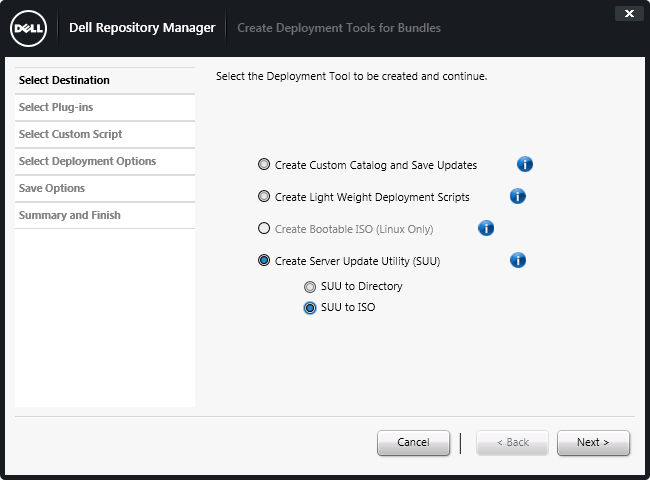
9. A wizard will appear, select Create Server Update Utility (SUU) > SUU to ISO. Select Next.
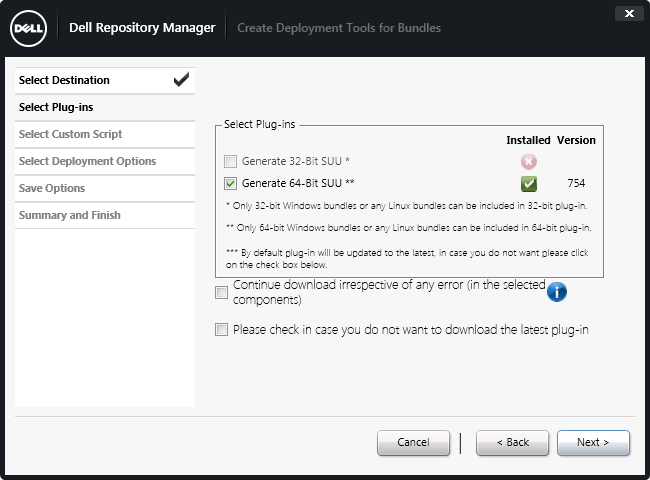
10. Accept the defaults on the Select Plug-ins Select Next. You will be prompted for the SUU export location, select a folder and click OK.
11. On the Summary and Finish page, review the Selected Bundles and confirm that all the appropriate models have been selected for export. Click Finish if everything looks okay. The job will be added to the Jobs Queue where the progress can be seen.


Leave a comment